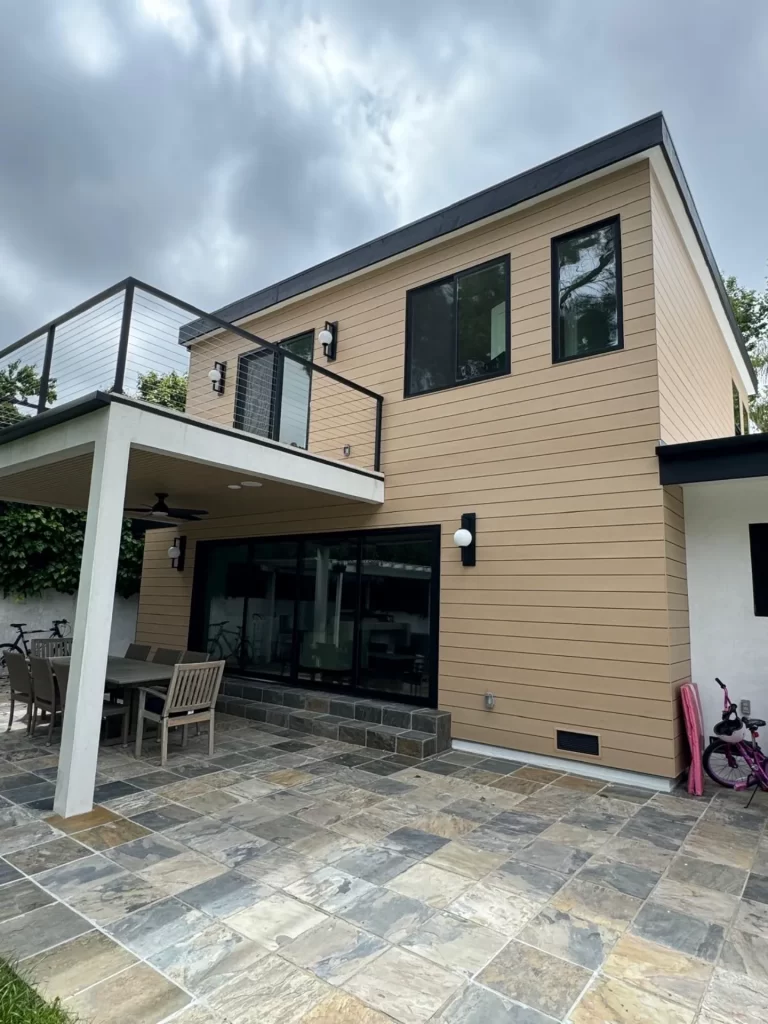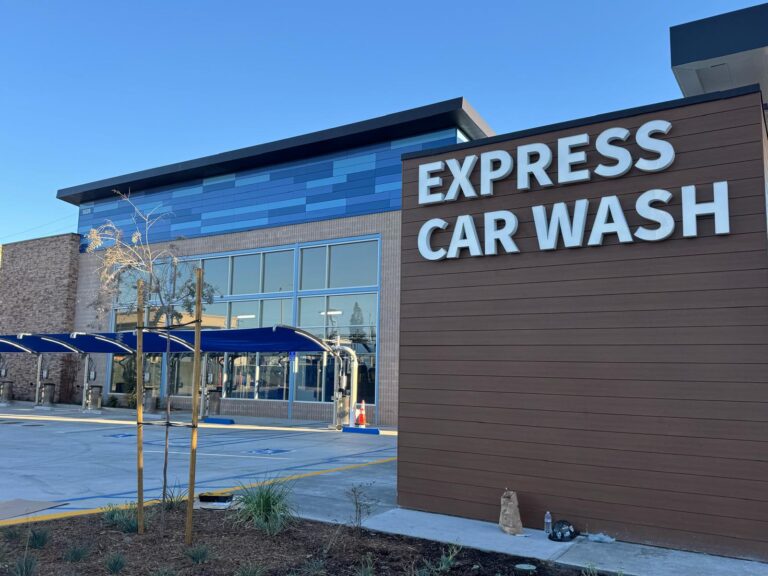


Walk a job site in Gardena, Pasadena, or any Eaton-fire rebuild neighborhood right now and you’ll see the same pattern. Pallets of aluminum panels under a tarp. A wall stripped to the sheathing. A two-person crew running rails across the studs. By Friday, that wall is finished, watertight, and ready for inspection. Aluminum cladding has gotten dramatically easier to install in the last five years, and most of that gain comes from one shift: panels that click onto a rail instead of getting face-screwed to the wall.
This guide walks the full install workflow, from substrate prep to the last trim cap. It’s written for residential contractors, commercial installers, and DIY-savvy homeowners. If you’re searching how to install aluminum cladding, this is the practical version, not a marketing brochure.
How to Install Aluminum Cladding: The Short Version
Installing aluminum cladding follows seven steps: verify the substrate, install a weather-resistive barrier, lay out and fasten the click rails (or furring strips for face-fastened systems), set a level starter, click the first panel, work up the wall course by course, and finish with trim, J-channels, and corners. A patented click-rail system like Clicklad’s installs roughly 40 to 60 percent faster than face-fastened lap siding because no screws penetrate the panel face and no panel-by-panel alignment is needed.
That covers the snippet. The walkthrough below covers the parts a crew actually needs.
What You Need Before You Start
Skip a prep step here and you’ll be redoing trim three weeks later.
Tools. Cordless impact driver, chop saw or miter saw with a non-ferrous metal blade (carbide-tipped, 80+ tooth), aviation snips, chalk line, 4-foot level, laser level for long runs, tape, speed square, rubber mallet.
Fasteners. Stainless steel or aluminum screws compatible with the rail. Galvanized steel against aluminum drives galvanic corrosion in damp wall cavities (the Aluminum Association publishes the dissimilar-metal compatibility tables); don’t substitute. Most click systems specify a #10 pan-head or wafer-head screw on 16-inch centers into wood studs.
Safety. Gloves (aluminum cut edges are sharp), eye protection, respirator when cutting indoors.
Materials. Panels, click rails (or furring strips), starter strip, J-channel, outside and inside corner trim, drip cap, butyl flashing tape. Order 10 percent overage to cover cuts and damage.
Step 1: Check the Substrate and Plane
The wall behind aluminum cladding has to be flat, sound, and dry. Run a 4-foot straightedge across the sheathing in multiple directions. Anything more than 1/4 inch of deviation across 4 feet needs to be shimmed or planed before the rails go on, which aligns with the substrate tolerance recommendations published by the Metal Construction Association. A wavy substrate telegraphs through the finished panel, and aluminum shows the wave more visibly than wood does.
Verify framing moisture content is under 19 percent with a pin meter before installing any envelope layer. Wet framing under a sealed exterior grows mold inside a year. If you’re cladding over existing siding for a re-clad, confirm the underlying material and structural sheathing are intact. Aluminum doesn’t fix a rotted wall.
Step 2: Install the Weather-Resistive Barrier
The WRB is the second line of defense behind the cladding. Even though a rainscreen click system drains incidental water through the air gap, the WRB is what protects the framing if a flashing detail ever fails.
Use a building wrap rated for the climate (commodity housewrap for most of California). Lap horizontal seams 4 inches, vertical seams 6 inches, shingle-style so water flows over rather than under each course. Tape all seams with the manufacturer’s compatible tape. Around windows and doors, integrate the WRB with sill pan and head flashing per the window manufacturer’s sequence and the WRB sequencing principles tracked by the Building Enclosure Council. Skipping that integration is the single most common warranty-killer in any cladding install.
For California WUI-zone projects, the assembly has to meet Chapter 7A of the California Building Code. Aluminum cladding paired with a code-compliant WRB and a gypsum sheathing layer satisfies the assembly requirement in most cases.

Step 3: Lay Out the Click Rails
This is where a click system pays back the install time. Once the rails are squared and fastened, every subsequent panel registers off the rail automatically. No panel-by-panel leveling.
Snap a level chalk line where the bottom edge of the first rail will sit. The first horizontal rail typically runs 1 to 2 inches above the future bottom edge of the panel (the starter strip handles the bottom course). Subsequent rails sit at a spacing dictated by the panel module. Clicklad’s standard horizontal-orientation panels need rails at roughly 24 inches on center, though the exact spacing depends on the profile (see the Closed-Gap Click Cladding System spec sheet for the dimensioned drawing).
Fasten each rail to studs or to structural sheathing with screws on 16-inch centers. Use a laser for runs longer than 8 feet. Keep the rail straight; any bow shows up in the finished panel.
For face-fastened lap systems, substitute 1×3 or 1×4 wood furring strips run vertically over the studs at 16 inches on center. The furring creates the rainscreen air gap and gives a fastening surface for face-installed siding.
How the Three Main Install Approaches Compare
| Approach | Speed (sq ft per crew per day) | Visible fasteners | Replaceability of damaged panel | Labor cost vs click |
|---|---|---|---|---|
| Click rail (hidden fastener) | 300 to 500 | None | Single panel pulls off rail | Baseline |
| Standing seam | 200 to 350 | None (concealed at seam) | Requires unzipping adjacent panels | 15 to 25% higher |
| Face-fastened lap | 150 to 300 | Yes, on every panel | Tear-off and reinstall surrounding course | 30 to 50% higher |
The click rail’s speed advantage is consistent across residential and commercial work. The labor saving is why most California rebuild contractors have switched to click systems in the last three years.
Step 4: Set the Starter Strip and First Panel
The starter strip establishes the level baseline for the entire wall. Snap a chalk line at the exact height where the bottom edge of the first panel will land. Fasten the starter to the wall along that line, screws on 16-inch centers, leaving 1/8 to 1/4 inch of expansion space at end joints.
Hook the first panel onto the starter strip and rotate it up against the lowest click rail. Press until the click mechanism engages along the full length. With a Clicklad rail, you’ll hear and feel a positive snap; the panel is mechanically locked and can’t drop without being intentionally released.
Check the first panel for level with a 4-foot level before clicking in the second. The starter and the first panel are the reference for everything above; a panel that’s 1/8 inch out of level at the base will be a full inch out 8 courses up.
Step 5: Work Up the Wall
Each subsequent panel hooks into the panel below and clicks into the next rail above. No measuring between courses, no individual leveling, no exposed fasteners. A two-person crew can typically run 300 to 500 square feet of finished wall per day on a clean elevation.
Expansion gaps. Aluminum expands and contracts with temperature. Leave 1/8 inch at every panel end where it butts into a corner or J-channel, and don’t drive screws tight enough to pinch the rail. The click rail absorbs movement through engineered tolerance; over-fasten and you’ll get panel waviness in summer heat.
Cutting panels. Score and snap works on lighter gauges but not on Clicklad’s 1.4mm panels. Use a miter saw with the non-ferrous blade. Cut burrs face the inside of the wall; deburr the visible edge with a file.
Around penetrations. Window and door openings, hose bibs, dryer vents, outlets, and meter bases all need cut-outs. Mark from the back, cut with snips or a jigsaw fitted with a metal-cutting blade, and trim the opening with the manufacturer’s J-channel. The J-channel laps over the cut edge of the panel and ties into the head flashing of the penetration.
Have a tight install schedule or a complex elevation to spec? The Clicklad team works directly with installers and project managers on layouts, takeoffs, and rail spacing for fire-zone and architectural projects. Talk to our team before you order and we’ll walk through the right system for your wall section.

Step 6: Install Corners, Trim, and Flashings
Once the field panels are up, trim ties the install together visually and seals the assembly against weather.
Outside corners. Most click systems use a dedicated outside corner trim that wraps the corner and accepts panel ends with a built-in expansion allowance. Install the corner trim before adjacent panels click in, so the panels slide into the channel.
Inside corners. Mirror the outside detail with an inside corner trim. Premium systems use a two-piece trim that hides the field cut.
Head and sill flashings. Drip cap above windows and doors, sloped sill flashings below. These flashings integrate with the WRB underneath, not just with the cladding above. Tape the back leg of every flashing to the WRB with butyl tape.
Soffits. Wood-grain aluminum soffit panels install on the same rail logic, run perpendicular to the eave, and finish at the wall with a J-channel return. The Clicklad soffit profile uses the same click rail so a crew can run wall and soffit in one workflow.
Top course. The last course usually requires a panel ripped to width. Cut, fold a return into the J-channel under the drip cap, and click home. Don’t leave an open top edge.
Step 7: Final QA Walk
Before the crew leaves, walk every elevation in raking light. Look for:
- Panels that didn’t fully click in. Reads as a hairline shadow along the rail. Press home with a rubber mallet.
- Wavy panels. Usually a screw driven too tight on the rail behind. Back off until the panel sits flat.
- Missing expansion gaps. Check each J-channel and corner. A panel jammed tight will buckle in summer.
- Sealant gaps at penetrations. Anywhere cladding meets a different material, confirm sealant beads are continuous.
- Exposed cut edges. Every visible cut should sit inside a J-channel or under trim.
- Fastener pattern photos. Document spacing on each elevation for the project file.
For the broader material context, the what is metal cladding guide covers the category. The aluminum siding product page carries full spec sheets and finishes.
The Bottom Line
Installing aluminum cladding in 2026 is a one-week job for a small crew on a typical residential elevation, not the multi-week craft project that cedar or fiber cement still demands. The shift to click rail systems has compressed install time, removed the visible-fastener compromise, and made warranty-friendly installs viable for crews who weren’t trained in standing-seam work. The patented Clicklad rail, the 1.4mm panel gauge, the ICC-ES ESR-5054 certification, and the 80 percent recycled aluminum content cover WUI-zone code, finish quality, and sustainability in one assembly.
Done well, the wall is watertight, fire-resistant, and visually clean for 40 to 50 years. Done poorly, it leaks at corners and waves in summer. Anyone learning how to install aluminum cladding lives or dies on three things: prep, rail layout, and discipline on expansion gaps.
Ready to scope an install on your own project? The Clicklad team works with contractors, architects, and homeowners on takeoffs, layouts, and project-specific spec packages. Get in touch with our team and we’ll respond with the right rail system, panel profile, and finish for your wall section, your code context, and your timeline.
Frequently Asked Questions
Can a homeowner install aluminum cladding themselves?
A DIY-savvy homeowner with carpentry experience can install a click rail system on a small elevation (a shed, a garage gable, a small addition) with no specialized training. Full-house installs are slow without a partner, and getting corners, flashings, and penetrations right requires care. For a primary residence, hiring a contractor who has run click systems before is usually faster.
Do you need furring strips for aluminum cladding?
It depends on the system. Click rail systems use a structural rail that performs the same function as furring strips and provides the rainscreen air gap automatically. Face-fastened lap aluminum does need vertical wood furring strips over the WRB to create the air gap and give the panel a fastening surface.
How long does it take to install aluminum cladding on a typical house?
A two-person crew using a click rail system can finish a 2,000-square-foot single-story home in 4 to 6 working days, assuming clean elevations and standard openings. Complex elevations with multiple gables, deep eaves, and many penetrations can stretch to 7 to 10 days. Face-fastened systems run 30 to 50 percent longer for the same wall area.
What screws should be used with aluminum cladding?
Stainless steel or aluminum screws compatible with the rail manufacturer's spec. Avoid galvanized steel screws in direct contact with aluminum in damp wall cavities; the dissimilar metals can drive galvanic corrosion at the fastener. Most click systems specify a #10 pan-head or wafer-head stainless screw on 16-inch centers into wood studs.
Does aluminum cladding need an air gap behind it?
Yes. Every install benefits from a rainscreen air gap of at least 3/8 inch behind the panel. The gap drains incidental water, equalizes vapor pressure, and lets the back face of the panel dry. Click rail systems create the gap through the rail depth; face-fastened systems use furring strips.